Recently, Windows 10 users encounter a new bug 0xc1900201 while performing an in-place upgrade on their devices. In this post, we will discuss the probable reasons that may cause this error in the first place.
The update error 0xc1900201 typically occurs when there is less storage space on Windows 10 than required. Bad sectors inside Memory or unnecessarily stored cache might also cause similar errors. Running Windows Update Troubleshooter and Renaming update folders are two promising ways to address this issue.
How to Fix Windows Update Error 0xc1900201
To solve the Update error 0xc1900201 on Windows 10, try the following suggestions –
1: Restart Windows
If you haven’t booted your PC for a long time, it’s time to Restart Windows. When you keep using your device without a proper shutdown, multiple caches are stored on the computer. After reaching its maximum limit, this starts causing different bugs and errors. If the issue persists even after rebooting the system, follow the next set of solutions –
2: Run Windows Update Troubleshooter
The Update Troubleshooter is a friendly in-built tool on Windows developed to take care of other computer updates. If you encounter the error 0xc1900201 repeatedly, we recommend running this tool for once as this can scan/repair the entire PC for possible corruption. Here’s how to perform this task –
- First of all, navigate to – Setting > Update & Security > Windows Update.
- Jump to the right side and click “Additional troubleshooter. “
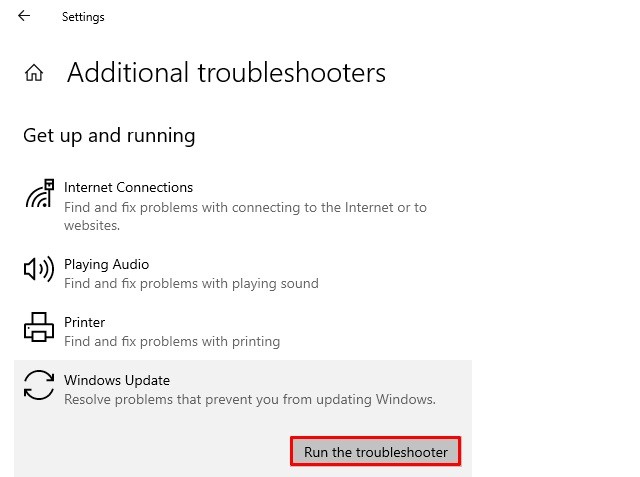
- Click Windows Update, followed by Run the troubleshooter on the extended pane.
- Wait till the troubleshooter finds and repairs the culprit programs, apps, etc.
Once over, Restart the PC.
3: Rename Windows Update Folders
As time passes by, the update folders get overloaded with unnecessarily stored cache or some other data. If you haven’t cleared these folders anytime sooner, rename them via File Explorer. One should prefer renaming instead of removing to avoid getting into unnecessary complications. In case the new update folders don’t work, as usual, you may always use the older ones. Here’s how to rename the Windows 10 cache folders –
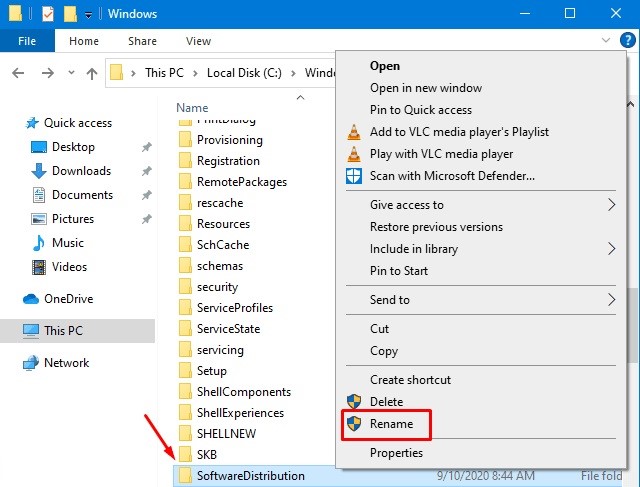
- Reach out to the path C:/Windows and scroll down to the “SoftwareDistribution” folder.
- Right-click on this folder and choose to rename. Add “.old” to its name and press Enter.
- If the UAC windows under the name “File Operation” appears, tap Yes.
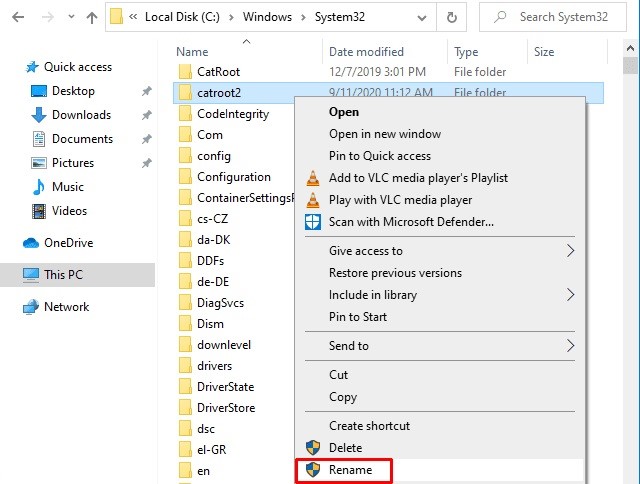
- Similarly, rename the catroot2 folder to catroot2.old. You may locate this folder at the location – C:/Windows/System32.
- Do restart you PC to incorporate the above changes. Otherwise, Windows 10 OS will break and display the Blue Screen errors.
- Windows 10 will automatically generate two new folders titled “SoftwareDistribution” and “catroot2“.
Note: If you want, you may go to the locations mentioned earlier and delete the lately renamed folders.
4: Run Windows Memory Diagnostic Tool
At times, Windows prevents the update process from running effectively owing to Memory issues. So, please diagnose the Windows Memory for any corruption. Here’s how to run the diagnostic tool –
- Use Windows key + R to launch the Run dialog, type mdsched, and hit Enter.
- When the Windows Memory Diagnostic wizard comes into view, click “Restart now and check for problems. “
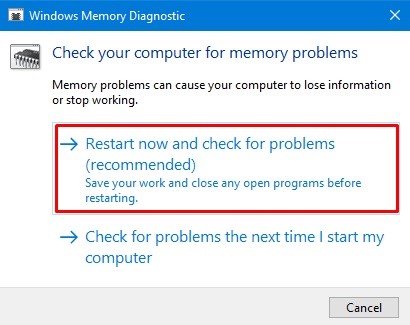
Tip: Make sure to save your ongoing work. Otherwise, they all would be lost once the diagnosis starts.
- Now, follow the on-screen instructions to start the memory-check. In case you change your mind, hit the Esc key on the keyboard, which will revert to the Windows Screen.
5: Use System Restore
The update error 0xc1900201 must have resolved by now. If not, use the previously created System backups to restore Windows. In case of not having any restore points, you are left with none other than a clean installation of Windows 10.