It can be helpful in many ways to be able to snap, save and share what you see on your screen. Screenshots make sharing interesting content extremely convenient, save proof of your online activities, show a complicated process that is not easy to explain in words.
Windows 10 has many integrated options that make it easy for everyone to snap a screenshot. In addition, some third-party applications provide additional functionality and are simple to use.
Here, Today we’re going to show you how to take a screenshot on a PC. A few different methods have been highlighted to give your options a good idea:
1- How To Take Screenshot On Windows 10 With Third-Party Apps
No need to confine yourselves to the Windows 10 applications you have integrated. There are more flexible and powerful third-party tools, perfect for those who have many screen screenshots to take. Third-party apps generally feature other features, like video, annotations, custom keyboard settings, etc.
Here are a few apps from third parties worth examining:
- Snagit (Paid; Free Trial)
- Greenshot (Free)
- Lightshot (Free)
- Screenshot (Paid; Free Trial)
2- How To Print Screen On Windows 10
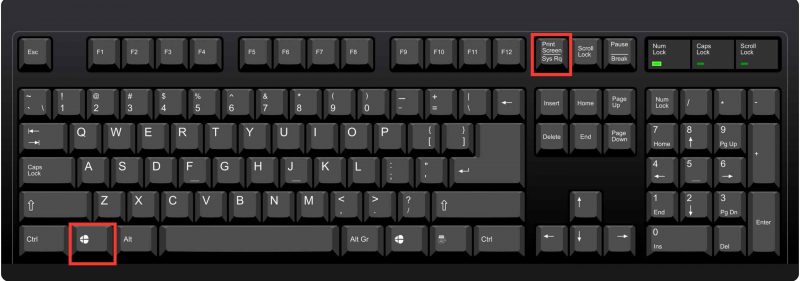
Anyone who wishes to take a quick screenshot should use the Print Screen button. You save and have your screenshot ready for sharing with a number of taps on the keyboard. Print Screen can be labeled as Print Scr, Prt Sc, PrtScn, or a similar version depending on your computer.
How to display on Windows with Print Screen:
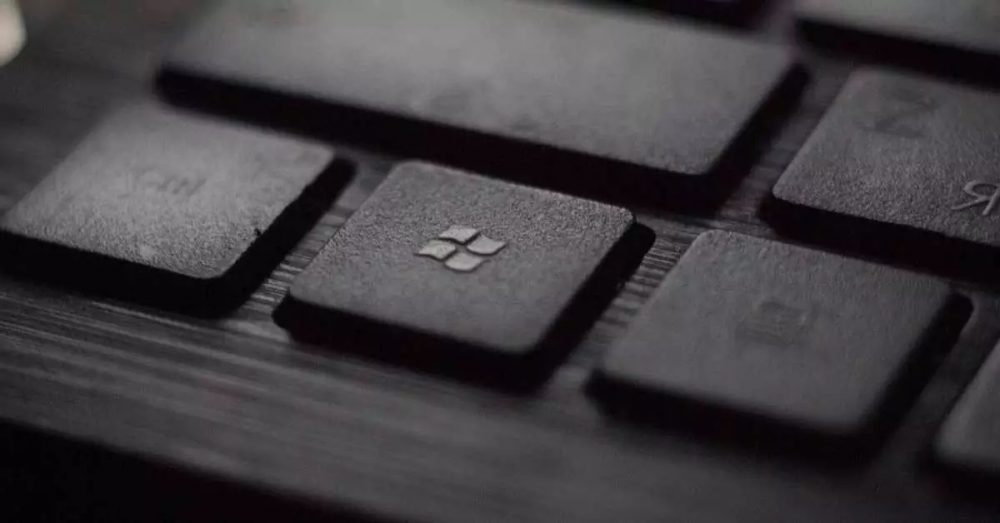
1- Press the Windows logo key + Print Screen button to save your screenshot instantly.
2- Press only the Print Screen button to take screenshot without saving it. Next, you can open the file using your favorite image editor or another built-in tool like Paint.
3- Press the Alt key + Print Screen button to capture a screenshot of your active window. You can paste it on an editing tool to save the image.
3- How To Take Screenshot With Windows Snipping Tool
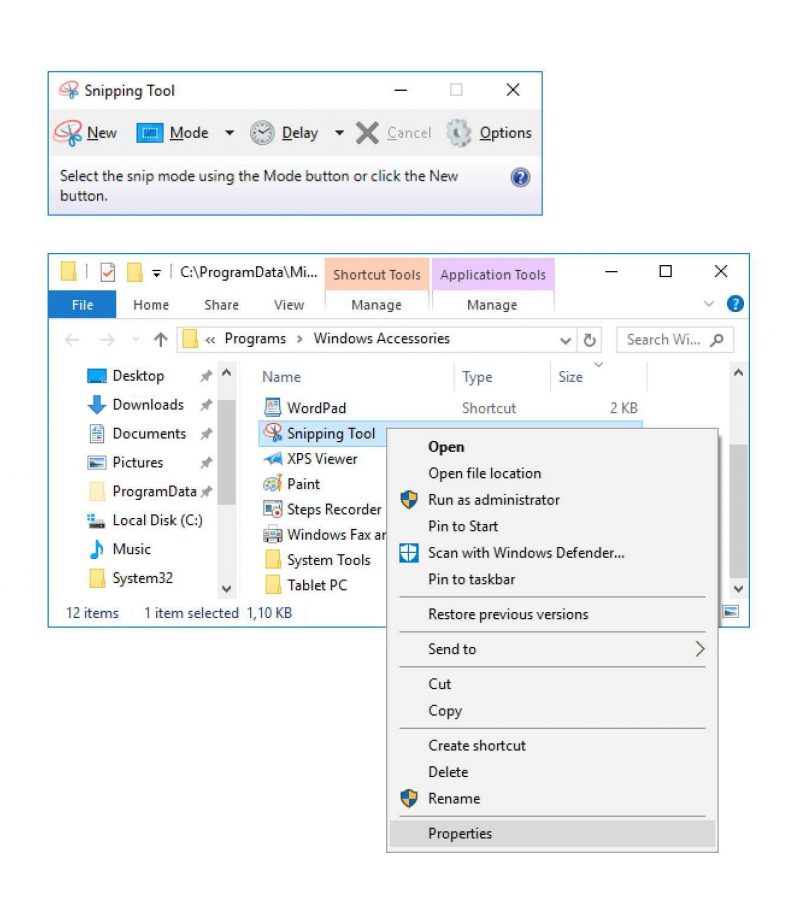
In Windows Vista, the snipping tool first appeared. The app has never seen new features over the years apart from several bug fixes – until Windows 10.
The app’s Delay feature is maybe the most exciting addition, which allows you to snap screenshots of pop-ups and tooltips.
How to take screenshot with the Windows 10 version of your Snipping Tool:
1- Open the Snipping Tool.
2- Click on the Mode drop-down menu.
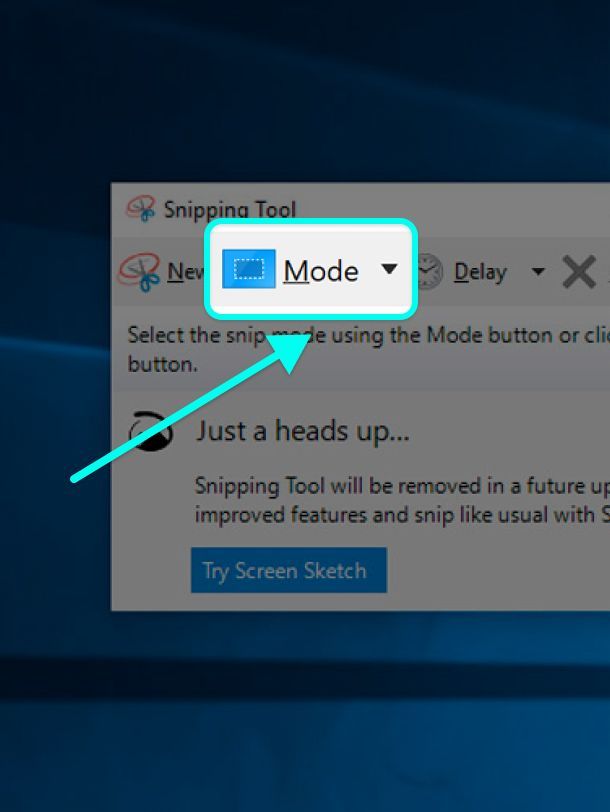
3- Select your preferred mode: rectangular, freeform, window, or full screen.

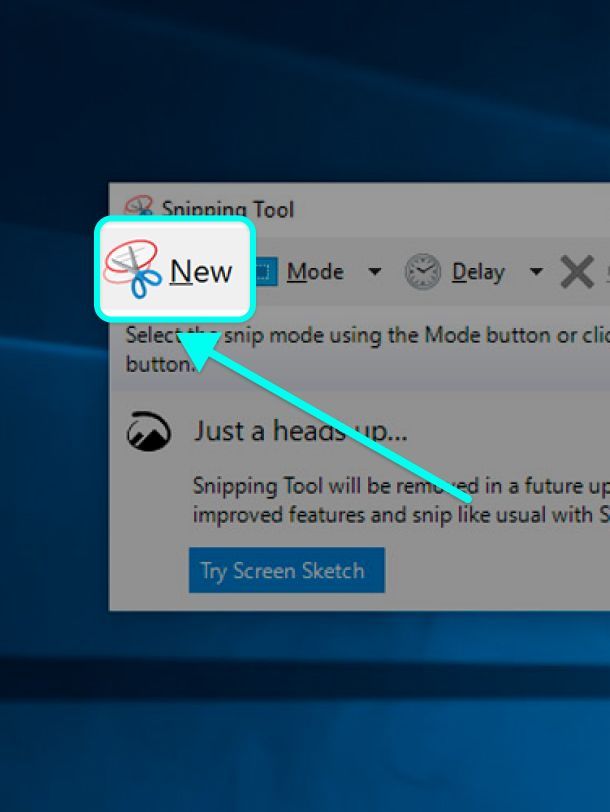
4- Click the New button.
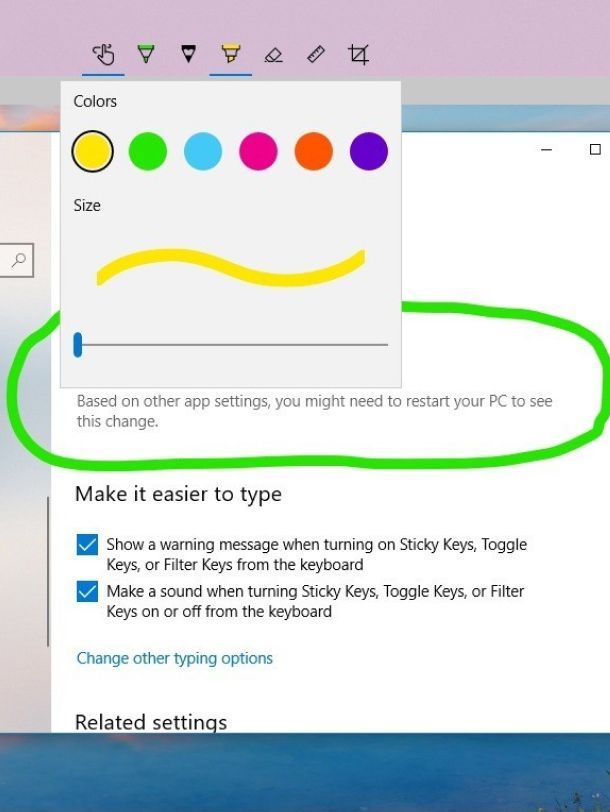
5- Edit your screenshot. (Optional)
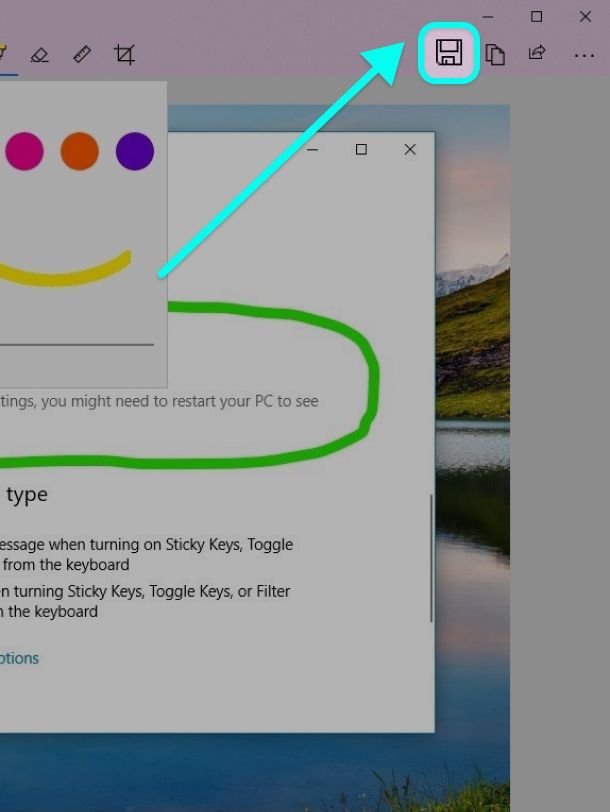
6- Save your screenshot.
4- How To Take Screenshot On Windows 10 With Snip & Sketch App
Sadly, in some versions of Windows 10 the snipping tool may be discontinued. You can use Snip & Sketch if you do not have such an app installed. The update in October 2018 was first introduced. The new app was specifically designed to replace the sniper. The app can take screenshots in a variety of ways, much like the legacy tool.
Here, How you can take screenshot on Windows 10 Snip & Sketch app:
1- Open the Snip & Sketch app.
2- Click the New button.
3- Choose your preferred screenshot: rectangular, freeform, window, or full screen.
4- Edit your screenshot. (Optional)
5- Save your screenshot.
The Bottom Line:
Windows 10 offers various integrated tools to capture screenshots on your keyboard with a few taps. However, these apps are not the only options you can offer. You can always use third-party programs with other features to snap, save, and share your screenshot as you please.