
Locating a kodi addon that still gets everyday updates is not an smooth project. Despite the fact that there are thousands of addons accessible, now not a lot of them deserve your attention. well, as defined in our evaluation of the first-class kodi addons, venom does deserve a very special region – and we strongly propose it to each kodi person. so, allow’s talk approximately what to anticipate from this addon, as well as the way to deploy venom on kodi, the smooth manner.
Before we proceed, a useful piece of information. Venom is the usage of the identical base code as a few different kodi addons, which makes them top alternatives to every different. That is why we additionally suggest installing Exodus (Version 8) further to Exodus Redux. All 3 of these carry the identical kind of content, but they depend upon distinct internet scrapers. So, with the aid of the usage of all three, you’ll continually find something interesting to watch. and in case you’d like to use the venom kodi addon without any regulations, ensure to examine the following section carefully.
6 Steps to Install Venom on Kodi
Before you can proceed to install third-party addons, you need to enable unknown sources on Kodi. You can use the provided link to see how that’s done (it takes only a few seconds of your time). And also, it’s recommended to use the latest Kodi 18 Leia version, so make sure to update your Kodi to avoid potential issues. And now, here’s how to install Venom.
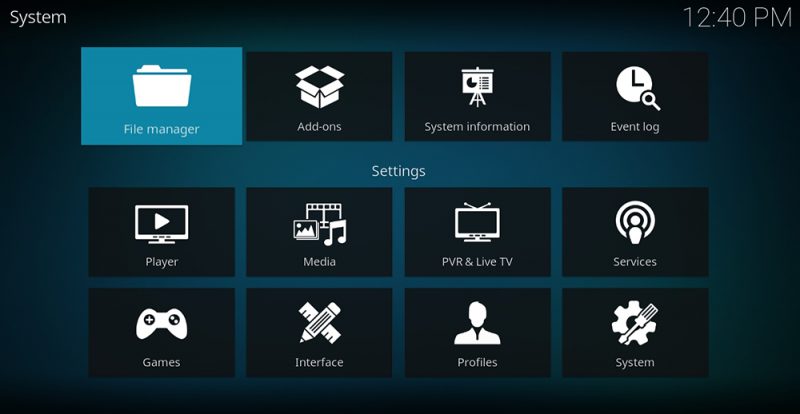
1 : After you open Kodi, go to its settings. To do this, click on the cogwheel icon (left-top corner) and then open the ‘File Manager’. On the left side of the screen, double-click on ‘Add Source’ and a new window should appear.
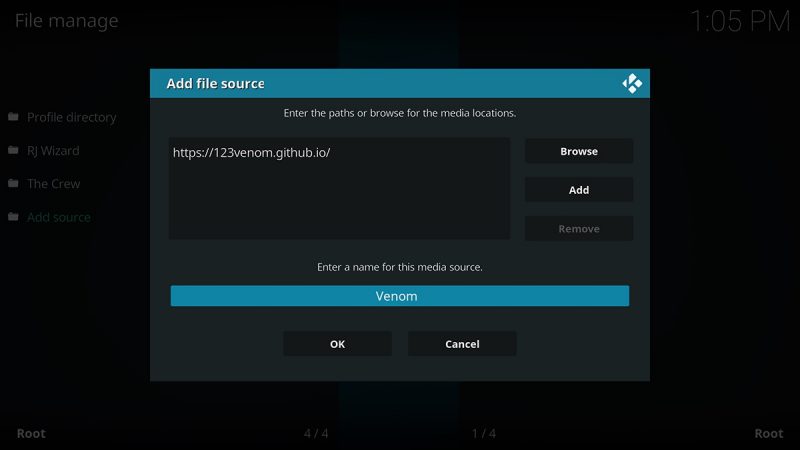
2 : Now, click on ‘<None>’ and make sure to use the following URL address: https://123venom.github.io. Click ‘OK’ to input the URL. Then, name this source as ‘Venom’ and click ‘OK’ to dismiss the pop-up (which should disappear without any warning messages).
3 ; Next, return to Kodi’s home screen and open the ‘Add-ons’ section. While there, click on the open box icon in the top-left corner. Then, select ‘Install from ZIP file’.
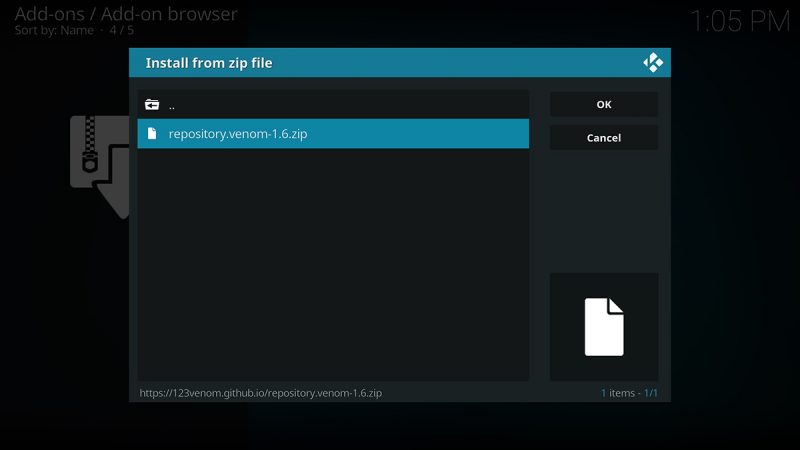
4 : Using the pop-up you’ll see on your screen, open the Venom folder. You’ll find a single ZIP file there, named ‘repository.venom-x.x.x.zip’. Click on the file and Kodi will now install the repository.
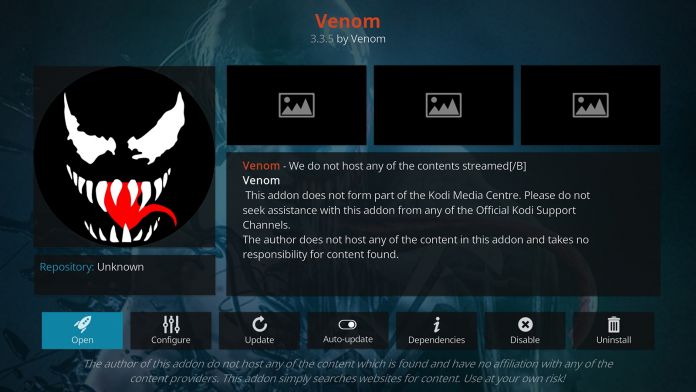
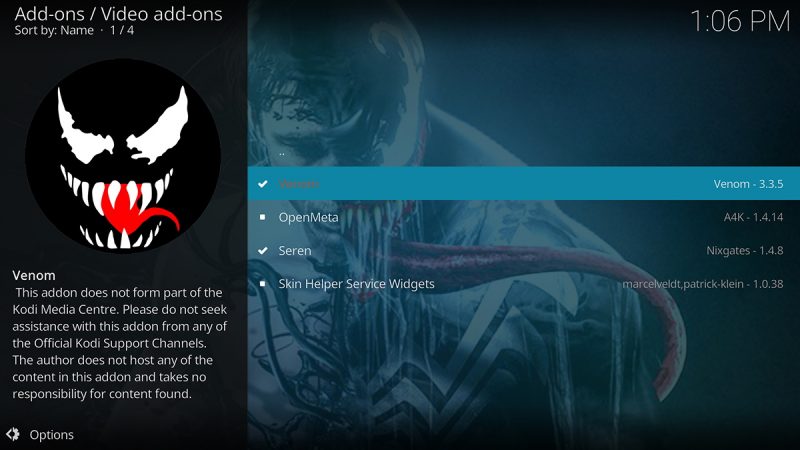
5 :Then, click on ‘Install from Repository’ and after that proceed to Venom Repo > Video Add-ons > Venom. Open the addon’s overview by clicking on its name.
6 : Lastly, use the ‘Install’ button to finalize this procedure. After a few moments, the Venom Kodi addon will be installed and added to your Kodi.
Fix Venom Errors (Not Working, GitHub Access & More)
We hope that you’ll get to use Venom without any issues. However, just like it’s the case with any type of software, some of you might encounter some technical issues. So, we’re here to help you resolve those.
Venom Not Working? Here’s How to Fix This Issue!
There could be plenty of reasons why Venom is failing to stream videos or why it can’t find any content. However, you should know that there are plenty of solutions to these problems. And more importantly, we’ve gathered all those solutions in our Kodi troubleshooting guide – so make sure to take a look.
We also recommend you update your Kodi to the latest version available. And finally, you should also make sure that you’re using the latest version of Venom as well. To update the addon, right-click on its icon and select ‘Information’ – and then use the ‘Update’ button to check if there’s a newer version listed.
What’s the Latest Working Venom Repo (GitHub)?
During the last couple of months, the Venom Kodi addon has changed several repositories. As you can imagine, this left many Kodi users searching for the latest Venom repository that’s still working. So, as mentioned in our guide above, this is the latest URL that you need to use: https://123venom.github.io/.
How to Install Venom on Firestick Devices?
Lucky for you, Venom can be installed on pretty much any version of Kodi. This means that it doesn’t depend on certain devices or platforms. So, all you need to install Venom on a Firestick is a trustful guide – and you’ve come to the right place. Make sure to scroll up to see our up-to-date guide on how to install Venom on any device that supports Kodi.
How to Fix the ‘Seasons – Nothing Was Found’ Venom Error?
This problem is related to third-party scrapers that Venom uses. So, all you can do is to update the addon to its latest version and hope for the fix to be implemented. In addition, we recommend clearing the cache of this addon (once you apply a new update), and here’s how to do that:
Open Venom and then click on ‘Tools’.
Next, select ‘Cache Functions’.
This is where you’ll find various types of cache. So, you can go with ‘Clear All Cache’ and then confirm your decision.
Conclusion:
we’d want to thank you for sticking with us till the give up of the item. if you have any questions or pointers, make certain to put up a comment beneath.