
How to Install the Plex Add-on in Kodi
The Plex Add-on in Kodi gives you the best of the two universes. When discussing media players, the discussion with respect to which of Plex or Kodi is better will never end. Both have likenesses yet they are totally different. Furthermore, supporters of one are regularly unequivocally contradicted to the next. In this article, we’ll tell you the best way to introduce the Plex Add-on for Kodi and take you through a guided voyage through its primary highlights.
Plex in A Nutshell :
Before we start introducing the Plex Add-on Kodi , we should delay and see what Plex is about. Plex began as a fork of XBMC—Kodi’s precursor—when a couple of engineers left the XMBC group somewhere in the range of ten years back because of “inventive contrasts”. From that point forward, XBMC advanced into Kodi and Plex developed too however took an altogether different bearing. Much the same as Kodi, Plex is a media player… kind of. Be that as it may, truth be told, it’s more a media SERVER than a player and it requires a customer to play its substance.
In spite of Kodi, Plex isn’t open-source programming. In spite of the fact that the fundamental programming is accessible for nothing out of pocket, a portion of its highlights are just accessible through the paid Plex Premium membership administration. Among the most intriguing highlights of Plex Premium are the PVR work, the capacity to watch (and record) live OTA TV utilizing a good PC appended tuner and a choice to run a Plex server in the cloud as opposed to on your nearby system and access it from anyplace, as long as there is access to the Internet.
Another significant contrast among Kodi and Plex is their individual additional items structure. Kodi has its “official” storehouse just as many different repos where you’ll discover a wide range of additional items. Plex additionally has additional items—which they call Channels—that are accessible straightforwardly from Plex. There is an Unsupported App Store for Plex which will give you access to some additional channels. And keeping in mind that it is similar to Kodi’s “informal” scene, it is on an a lot littler scale.
What is the Plex Add-on for Kodi ?
The Plex Add-on for Kodi is a Plex customer that runs as a Kodi. It gives you the best of the two universes. It lets you use Plex on a media server to arrange and deal with your video library while letting you get to that library directly from inside Kodi. No compelling reason to exit Kodi and start a different Plex customer on the media box which is associated with your TV. You get the upsides of the Plex media server and the wide additional items determination of Kodi.
An extraordinary thing about this extra is it is an “official” add-on. It is along these lines completely bolstered by both the Kodi and the Plex groups. What’s more, being a true blue extra, it won’t almost certainly vanish like such a large number of incredible additional items that go back and forth all the time. This one is digging in for the long haul.
Introducing the Plex Add-on for Kodi :
By goodness of being an official extra, introducing the Plex for Kodi add-on couldn’t be less complex. No compelling reason to complain with establishments sources or archives. You won’t have to empower outside sources. Adhere to our bit by bit guidelines and you ought to be ready for action in a matter of moments.
Before We Start :
These directions expect that you as of now have a Plex server introduced on a PC some place on your neighborhood organize. On the off chance that you don’t have one and need to begin with Plex, we propose you go to Plex’s site at www.plex.tv where you’ll discover all the data you need. Introducing and arranging a Plex server is definitely not a troublesome errand however it is past the extent of this article.
Installation Steps :
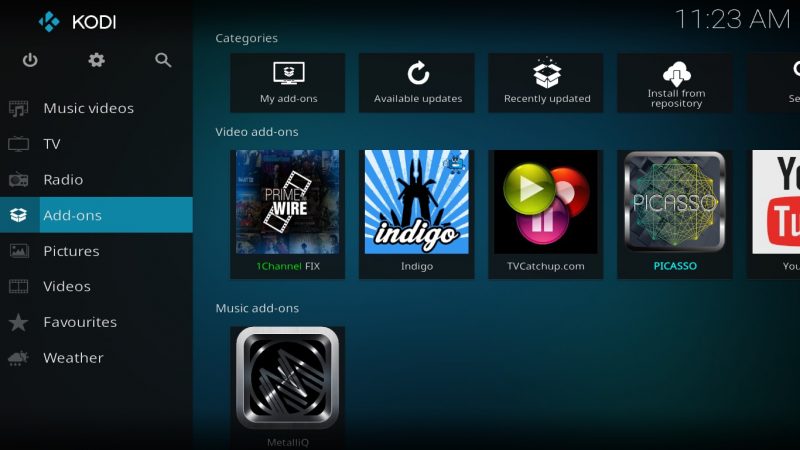
From the Kodi home screen, click Add-ons in the left pane.
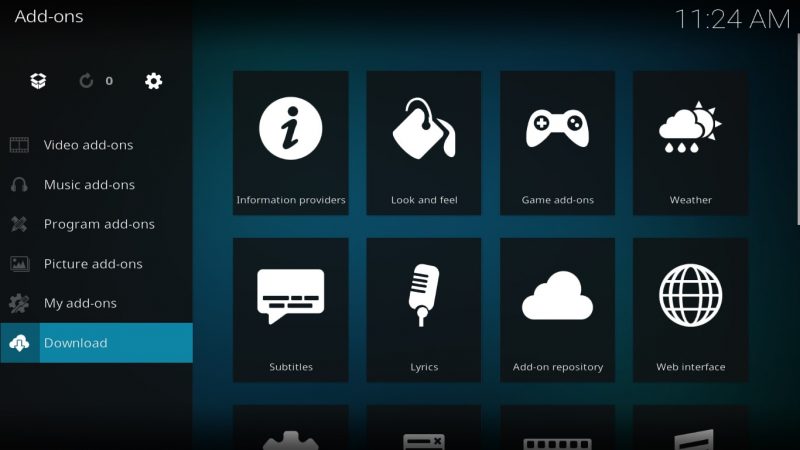
Then, click Download, also in the left pane.
Click Video add-ons.
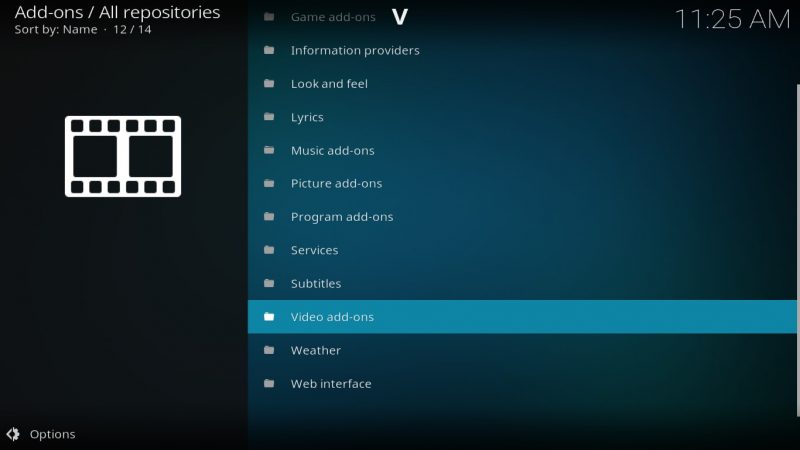
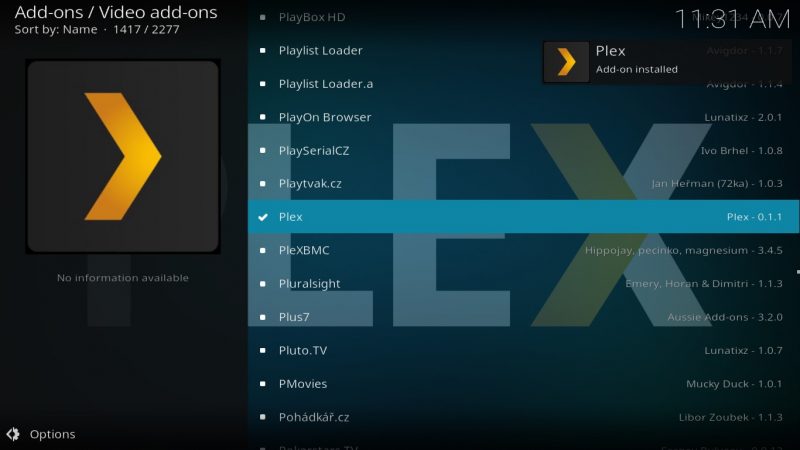
Look down the rundown and discover Plex. The length of the rundown will shift, contingent upon what number of vaults you have introduced. In the event that it’s another establishment without any vaults, just “official” additional items from Kodi will be appeared and the rundown will be moderately short.
When you’ve found Plex in the rundown, click it to uncover the Plex add-on data screen.
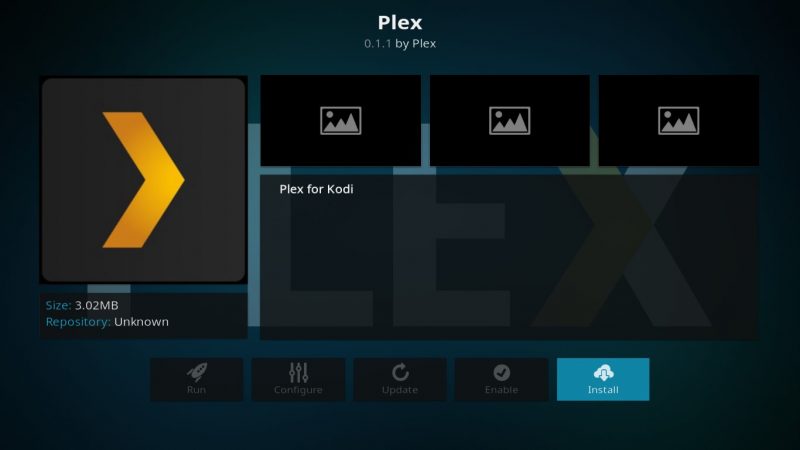
Click the Install button at the bottom right of the screen
After a few seconds, a message at the top right of the screen confirms the successful installation of the add-on
Now that we’ve successfully installed the Plex for Kodi add-on, we’re ready to have a look at its features.
A Tour of the Plex Add-on for Kodi :
Upon first starting the Plex Add-on for Kodi after its installation, you’re presented with its splash screen
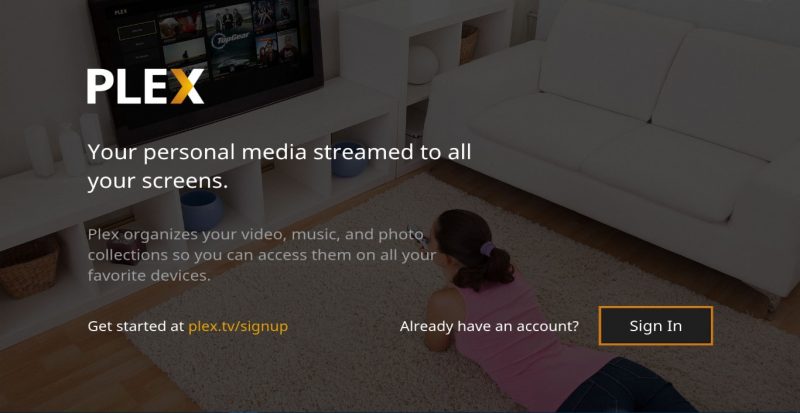
You have to combine your Plex Add-on for Kodi with your Plex server by first marking into your Plex account. Snap Sign In at the lower right of the screen.
Kodi will create a code, show it on screen and welcome you to visit Plex’s site from a web browser.
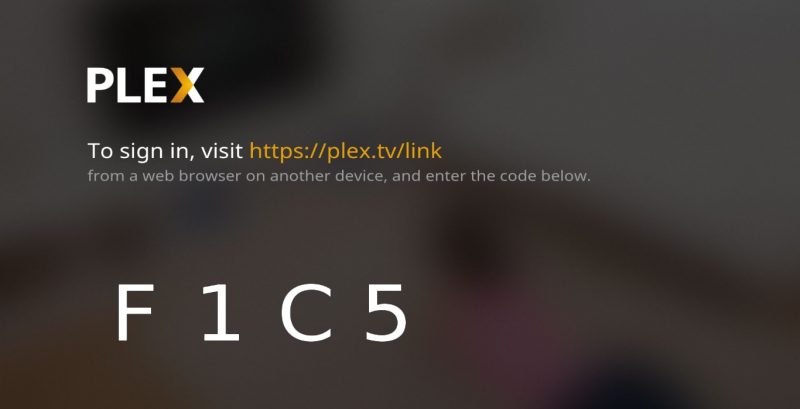
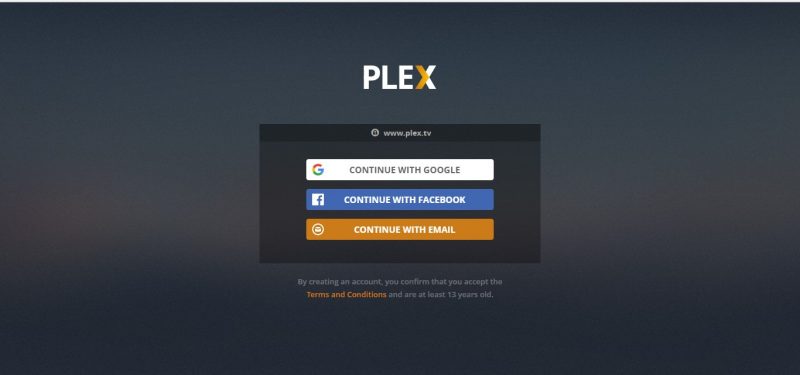
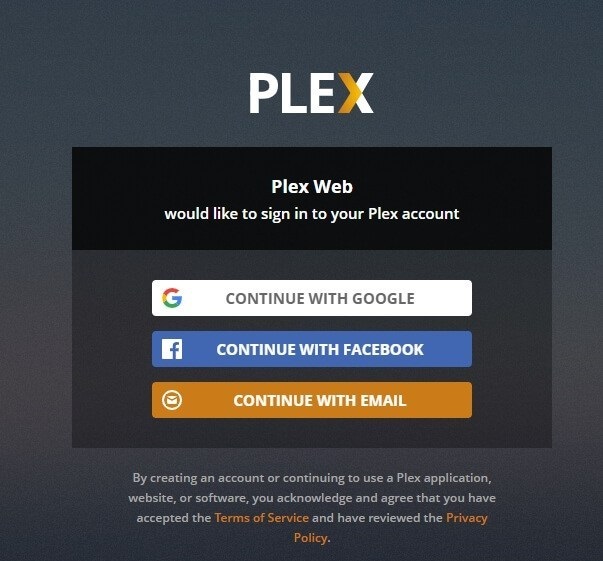
When you get to the Plex website on your browser, you’ll need to login to your Plex account, either using your Google or Facebook account or your email and password.
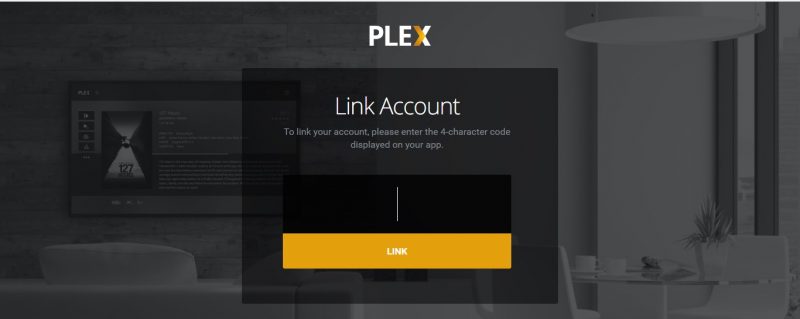
Once you’ve successfully logged in, you’ll be asked to enter the code generated by the Kodi add-on.
Enter the code to be greeted by the successful pairing screen.
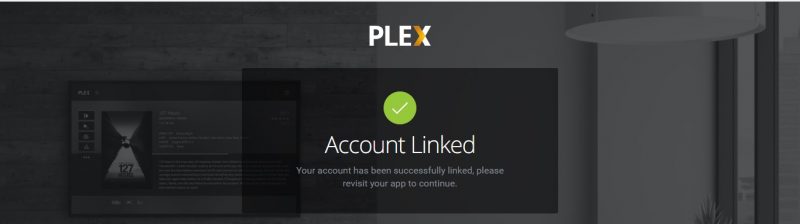
You may now go back to your Plex Add-on Kodi and see its main menu.
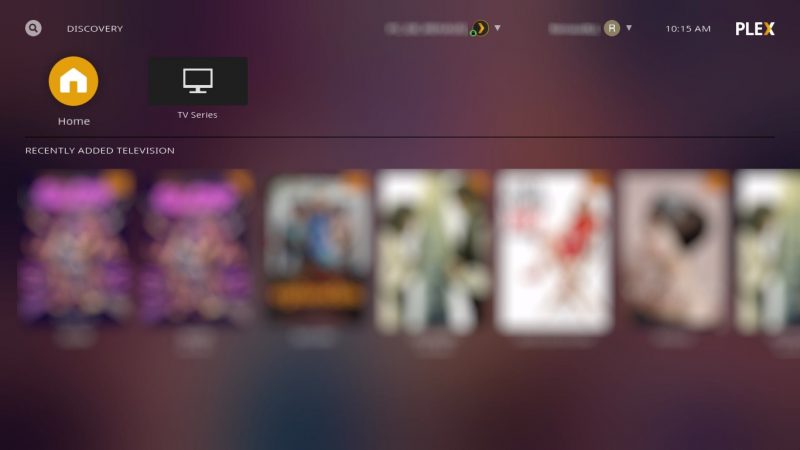
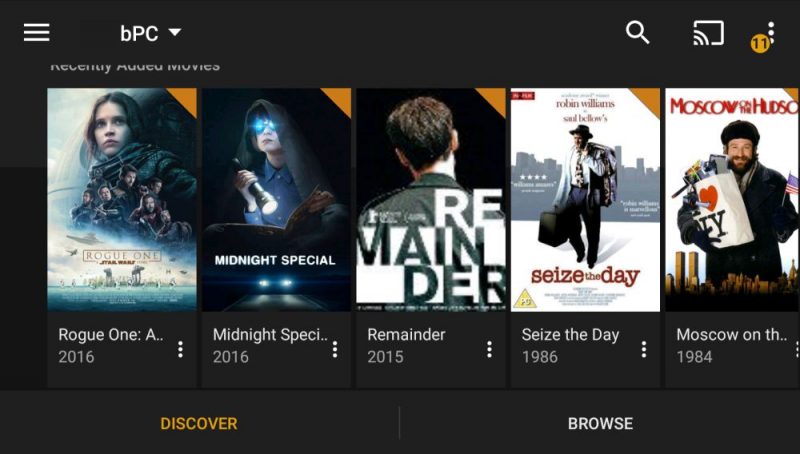
The principle menu you’ll see will be not quite the same as this one and is to a great extent dependent on your Plex arrangement. The Plex Add-on for Kodi just shows what’s accessible on your chose Plex server. Also, discussing servers, there could be a few of them enlisted with your Plex account. A drop-down rundown at the highest point of the screen enables you to choose a server. A great many people have just a single server, however, so it ought to be chosen as a matter of course.
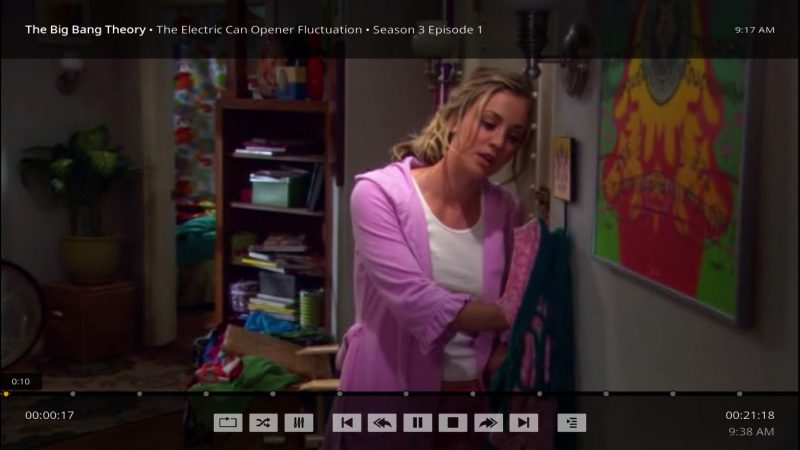
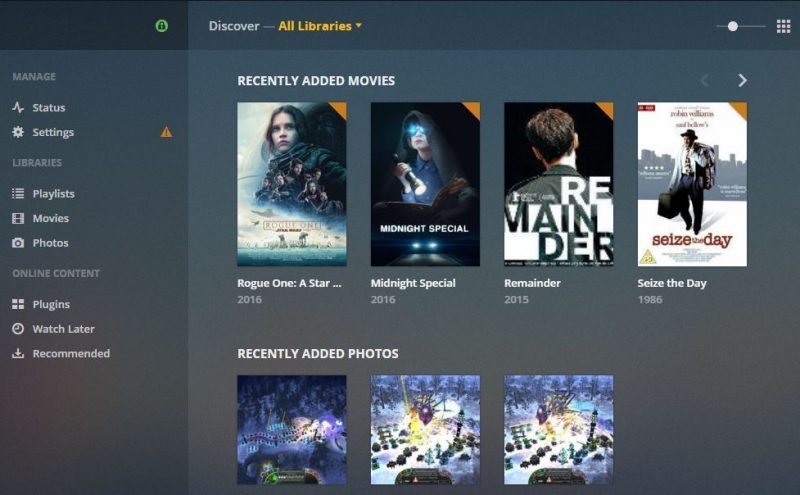
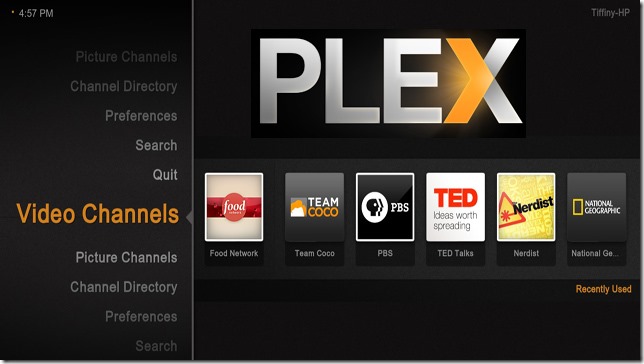
The extra’s fundamental screen shows you as of late included substance your server and has catches at the top to go to the Plex server’s home or to any of the libraries designed on the server. As should be obvious in this model there is just one, called TV Series.
You can explore the substance and play any choice by just clicking it. In spite of the fact that the UI’s look and feel are not quite the same as other additional items and could take some time becoming accustomed to, its fundamental usefulness is comparative and you should feel right comfortable.
An Expression of Alert!
There is something we discovered when working with Plex that we thought ought to be referenced. Any expulsion of substance from your Plex library will likewise erase the genuine document on the PC. There is a notice that shows up on screen yet we discovered it didn’t plainly express that it was going to erase genuine documents from the plate. This conduct is altogether different from what you’d see when erasing content from the Kodi library.
In Conclusion :
Both Plex and Kodi are incredible items. Every ha its focal points and hindrances. At the point when contrasted It’s practically unimaginable with recognize a reasonable champ. Every item has its fan base who will contend that “their” item is far better than the other. Which of them is best for you presumably relies upon a couple of things.
On the off chance that you as of now have a Plex server and are likewise running Kodi on some TV-connected media player, the Plex Add-on for Kodi will let you get to that substance without exiting Kodi and start a different Plex customer application. In the event that you don’t, introducing and setting up a Plex server probably won’t merit the difficulty. That is, obviously, except if you need to have the option to design your media assortment in a solitary spot and access it from different areas/gadgets.
Our best counsel is that you check out it and see with your own eyes if the Plex Add-on for Kodi is for you. What’s more, when you’ve attempted it, why not mention to us what you loved and didn’t care for about it. Have you had any issues introducing it or making it work? Utilize the remarks underneath and share your involvement in us!
How to Setup and Use a Plex Media Server (Complete Guide)
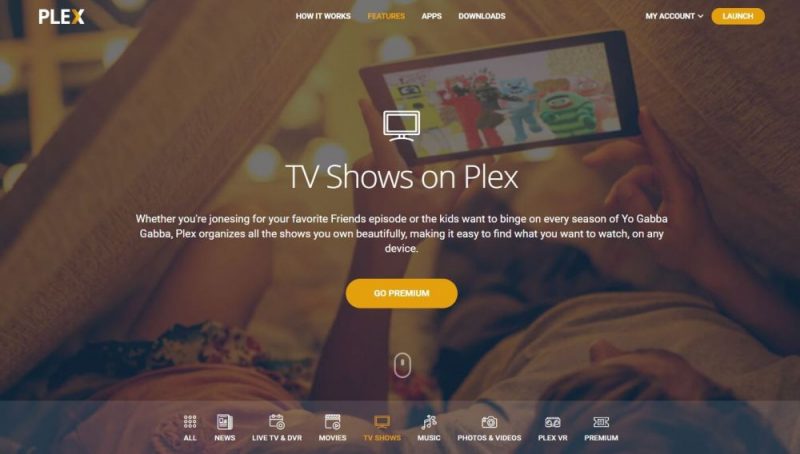
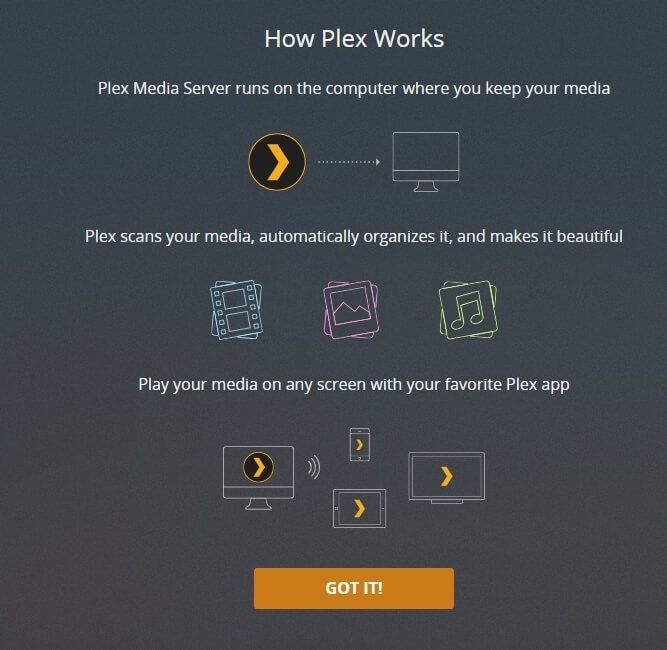
Plex is an exceptional assistance and bit of programming. It gives you both a ground-breaking media focus and a media player for a huge assortment of gadgets, everything from cell phones to PCs, even Plex on Chromecast! Regardless of what sort of motion pictures (Movies) or TV shows you’re attempting to stream, Plex can deal with it. Simply join, introduce, and let motion picture night start.
Getting Plex set up gushing is normally a two section process. You’ll require Plex Media Server on your principle gadget where all the films documents are found, generally a PC. Next you’ll have to set up the Plex Media Player on the gadget you need to stream to. All the specialized subtleties are dealt with naturally, you simply need to make point An and point B, at that point appreciate.
Streaming with Plex Media Server – How to Set Up :
At the point when it’s the ideal opportunity for a decent motion picture (or an epic TV arrangement gorge session), Plex is an incredible method to slice through the cushion and get right to spilling. Follow the guide beneath to set up your Media Server so you can observe each video in your assortment without lifting a finger.
Step 1: Create an Account :
Before you can viably utilize Plex Media Center, you’ll have to join. Plex offers Facebook or Google accreditation logins, yet it’s a superior plan to make your very own Plex account. It’s allowed to start, and you can likewise pursue Plex Pass to increase a huge amount of premium highlights, incorporating disconnected match up with cell phones, live TV, DVR highlights, and photograph labeling capacities.
To make a record, essentially go to the Plex site and snap Sign Up at the highest point of the screen. Select the Continue with Email button, at that point include a substantial location alongside a protected secret phrase. Affirm the data and Plex will send you an email to confirm your record.
Stage 2: Installing the Plex Media Server :
Presently you’re prepared to get the Plex Media Server fully operational. This product will oversee, transcode, and move films over your system, all unobtrusively and out of sight. It’s ideal in the event that you introduce it on your fundamental PC, not a workstation or other low-controlled gadget, as the equipment will do some truly difficult work when you start spilling. Frail gear could mean you can’t watch HD or 4K motion pictures by means of Plex, and no one needs to pass up that!
Start by visiting the Plex site. Go to the Downloads Page and snap the catch checked download. You’ll at that point see the real download area. Snap the dropdown menu close to the top and pick your working framework from the rundown. Next, click the yellow catch underneath the dropdown menu. For Windows and Mac it should state Download. Linux clients should pick their dissemination first, at that point the download will start.
When the record is on your framework you should simply run it to introduce the Plex Media Center.
Step 3: Add Your Media :
With the Media Center ready to rock and roll, how about we add some substance to our library. It’s ideal to have your motion pictures and TV shows put away in one area to help with ordering, generally Plex will invest additional energy discovering content over your stockpiling gadget.
Plex bolsters a decent assortment of document types. The most widely recognized are normally mp4, as they offer a reasonable exchange off between record size and quality. Regardless of whether you have a lot of motion pictures in various configurations, realize that Plex can transcode them on the fly. You’ll have to have a tough PC to deal with this CPU-serious errand, obviously, however it makes things very advantageous.
Make a committed drive segment or organizer on your gadget only for Plex content. Inside, make envelopes for Movies, TV Shows, and both Music and Pictures in the event that you plan on gushing those too. Find all the video documents you need to duplicate to your Plex library, at that point move them into the suitable openings. It’s ideal to keep motion pictures and TV shows discrete, yet it isn’t important.
Presently run the Media Server and sign into your Plex account. In case you’re running it just because, you’ll be taken through an essential arrangement wizard that will control you through the following scarcely any means. The product will at that point consequently find media as it checks for new substance. After a couple of seconds (longer on the off chance that you have a colossal library), you’ll see a screen with your media showed in a lattice.
On the off chance that your library doesn’t appear, click the in addition to sign alongside Libraries in the left side menu. Select the kind of media you’re including (motion pictures, TV appears, music, and so on.), trailed by the envelopes they’re situated in. Plex will at that point file everything physically.
Stage 4: Activate the Plex Media Server :
With media set up and the Plex server dynamic, you’re presently prepared to get things running. Tapping on the Plex Media Server symbol will dispatch a program put together interface with respect to your PC. On the off chance that you followed the progression above you ought to have finished an essential arrangement wizard, which will manage you through all that you have to begin spilling content. On the off chance that you haven’t, Plex will initiate the wizard now.
Complete the means as appeared by the arrangement wizard to include content and make your dynamic Media Server. At the point when it’s done, you’ll have a media server running on your gadget, prepared to stream. Whenever you need to watch content, ensure this is running out of sight on your PC.
Step 5: Install the Plex Media Player :
Presently it’s an ideal opportunity to begin spilling a few motion pictures. Your server is stacked up and dynamic, however now you need something to play motion pictures on. This is best done a different gadget. Plex bolsters a decent assortment of equipment, so you shouldn’t experience any difficulty discovering interchange approaches to watch your substance.
On the gadget you need to stream to, visit the Plex Download Page. Snap Get an App at the base. Pick your working framework from the dropdown menu. On the off chance that Plex is accessible from your gadget’s worked in commercial center, you’ll be given a connect to snatch it from that point as opposed to downloading a different record. You can likewise physically scan the market for “Plex” and introduce it that way, in the event that you like.
When it’s introduced, run the Plex application and sign in utilizing your record subtleties. The Plex player application will interface with your neighborhood server and show the photographs, music, and recordings that are prepared to stream. Tap anything you’re keen on, at that point settle back for motion picture time.
Free Vs Paid Plex:
Plex works by interfacing neighborhood media to your nearby gadgets, keeping most outsider eyes out of your home system. The administration is for the most part allowed to utilize, however there are a few bits that are hindered by a paywall.
Media Server:
The Plex Media Server is in every case free, on each gadget, including Windows, Mac, and Linux. You won’t be approached to overhaul or open anything, simply introduce the product, make a library, and you’re set.
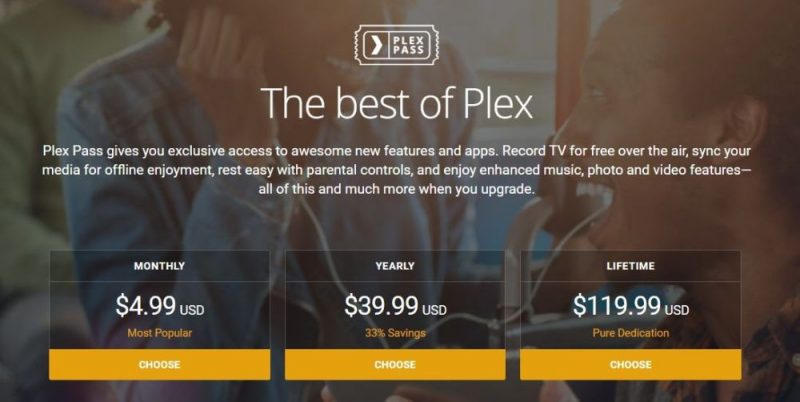
Plex Pass:
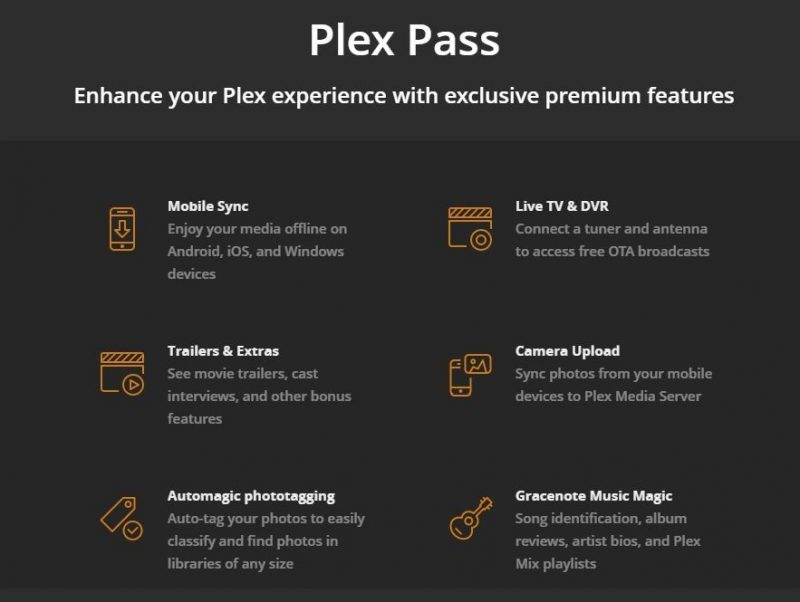
Plex Pass is the paid membership administration that lets you open an assortment of additional items not accessible in the default form of Plex. The entirety of the center spilling and media server highlights are allowed to use, obviously, however in the event that you need rewards, Plex Pass is the best approach. The following is a brisk take a gander at a portion of the all the more intriguing increases accessible with a paid membership.
- Actuate all portable applications at no extra charge (Android, iOS, Windows, Windows Phone).
- Watch live TV and, on the off chance that you have a tuner and advanced radio wire, record over-the-air communicates accessible in your general vicinity.
- Stream trailers and additional items (interviews, off camera, and so forth.) conveyed by Plex for all substance in your motion picture library.
- Add verses to your music library so you can chime in at whatever point you’re in the temperament.
- Get geographic and scene-based labels added to your photographs naturally.
- Utilize portable matching up for disconnected video gushing.
- Set up Plex Home for your family to permit simple exchanging between accounts. You can likewise confine which substance is shared over the server.
- Get early see access to new applications and highlights.
You can buy in to Plex Pass whenever by signing into your Plex record and visiting the Plex Pass overhaul page. Plans are only a couple of dollars for month to month get to.
Plex Mobile App:
The first occasion when you run a Plex portable application on iOS, Android,, or Windows Phone you’ll be approached to open the product. This is a little one-time buy that expel the confinements from your gadget. A bolted portable application limits your video playback to 60 seconds one after another. Photographs are additionally watermarked with the Plex logo. You can proceed in preliminary mode on the off chance that you simply need to give things a shot, however on the off chance that you use Plex long haul, you’ll unquestionably need to update.
Different Apps:
Plex has a wide assortment of applications you can use outside of standard Android and iOS situations. The entirety of their non-portable applications are open and free, and they incorporate Amazon Fire TV, Android TV, Apple TV, Chromecast, Roku, Smart TVs, TiVo, and both PlayStation and Xbox game consoles. You can introduce these applications from their separate commercial centers and stream from your Plex Media Server without confinement.
Plex Channels:
Plex principally exists as a substance conveyance medium. A characteristic expansion of this is the Plex Channels module environment. You can rapidly introduce official and informal additional items that give you access to live and on-request content that isn’t locally put away on your home gadgets. Consider it like adding computerized TV channels to Plex.
Most Plex Channels are allowed to introduce and utilize. A couple do incorporate membership designs that are totally independent from the Plex administration itself. You can generally introduce an extra without settling in advance, and on the off chance that you don’t care for the administration basically expel it from Plex.
Conclusion :
Plex is a solid contender for the world’s most prominent media focus administration. You gain admittance to the entirety of your recordings in one helpful interface, you don’t need to pursue any wild memberships or pay-per-see plans. All you need is a couple of moments to set up the media server, an application to stream to, and a free evening to watch a brisk show or two.
How to Download and Install Plex on Windows
Plex is a Purchaser-server media player device and Software program suite comprising of Additives: Plex media participant and plex media server. Plex helps you to bring all of your Favourite media’s in a unmarried vicinity, making it stunning and easy to experience. It organizes your photos, Films & Music and Streams them to all your Plex Established devices. In this Newsletter, we can extensively explain the way to Set up a Plex media Server and Plex media player on windows Computer. before that, Test out this text to Recognise everything about plex app.
Difference between Plex Media Server and Plex Media Player
Plex media server is a Software program which you want to install at the PC or NAS (Network-Attached Garage) Gadgets in which you have got Stored all the media Contents which you need to circulate.
Plex media Participant is a software which you need to put in on the Gadgets (Home Windows, Mac, Android, iOS, Apple Television, Smart Television & Extra) where you want to Stream all the Contents that you are saved on the plex media server.
How to Setup Plex Media Server on Windows PC/Laptop?
(Note: Before installing the Plex Media Server, make sure to create a Plex account).
Step 1: Download Plex Media Server on your PC/laptop which runs on Windows 7, 8, 8.1 & 10.
Step 2: Once the downloading of installation file was finished, double click and run the installer file.
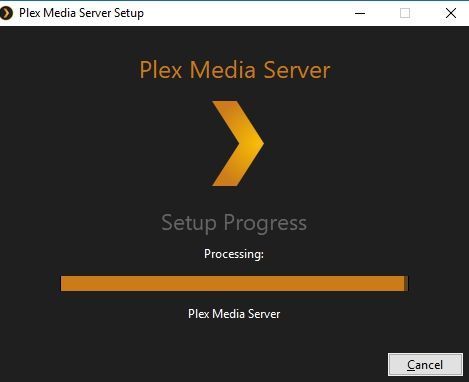
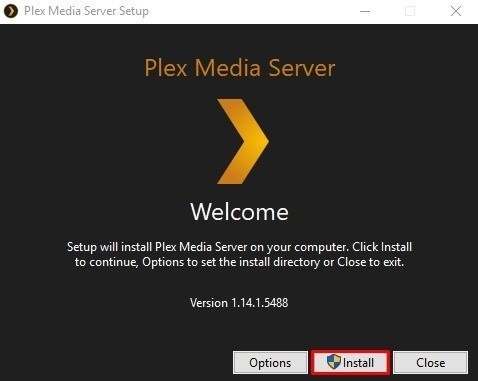
Step 3: Tap “Install” to start the installation process.
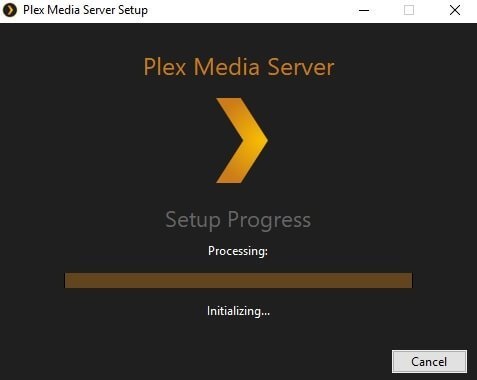
Step 4: Wait for Plex Media Server to get installed on your Windows PC/laptop.
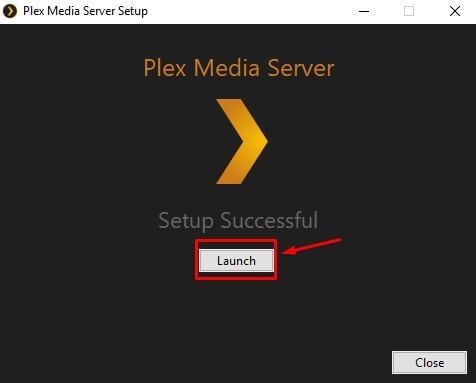
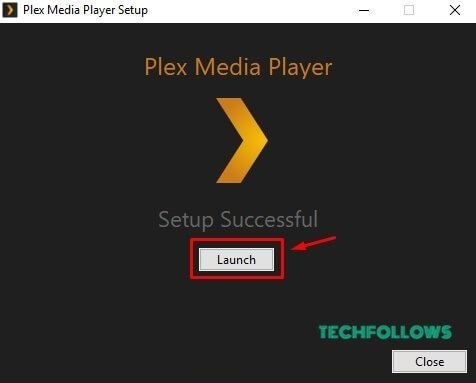
Step 5: Once the installation was finished, Tap “Launch.”
Step 6: The setup wizard will take you to the default browser, where you need to enter the login details of your Plex account.
Step 7: Tap “Got it.“
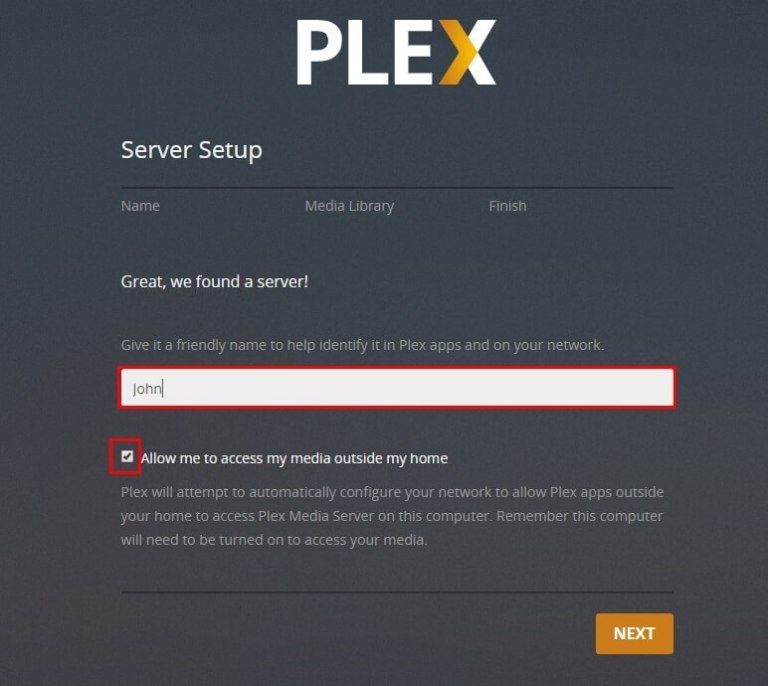
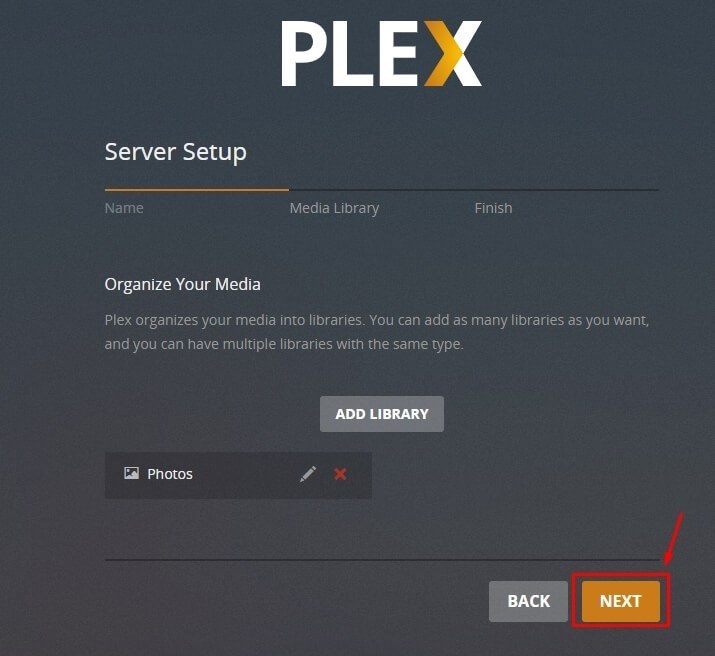
Step 8: Enter the name for your library and then click “Next.”
(Note: Make sure to tick the box “Allow me to access my media outside my home”).
Step 9: Tap “Add Library” to add media’s on your server.
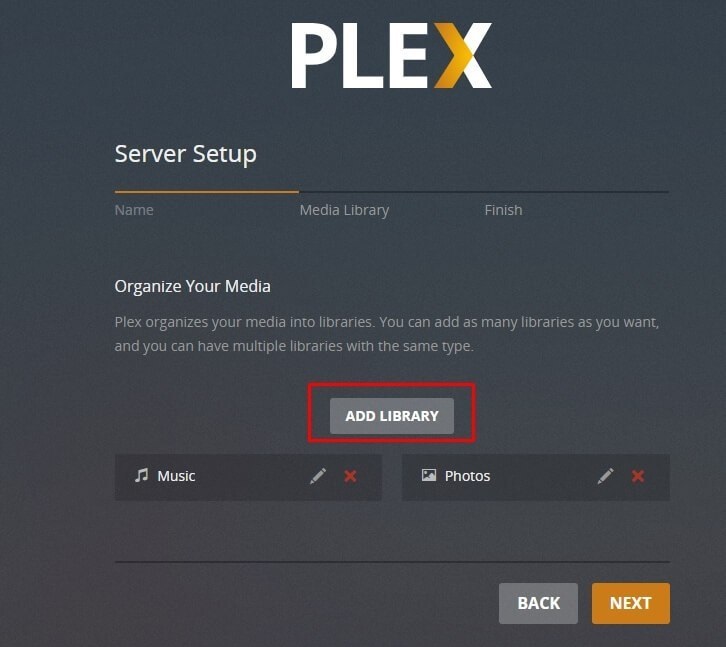
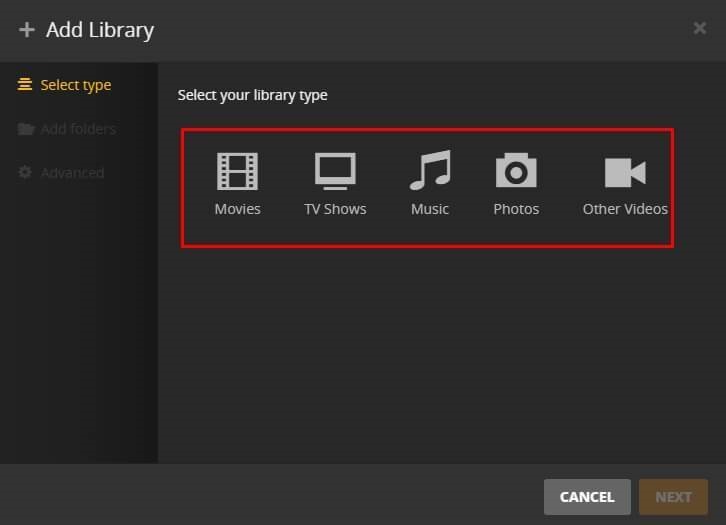
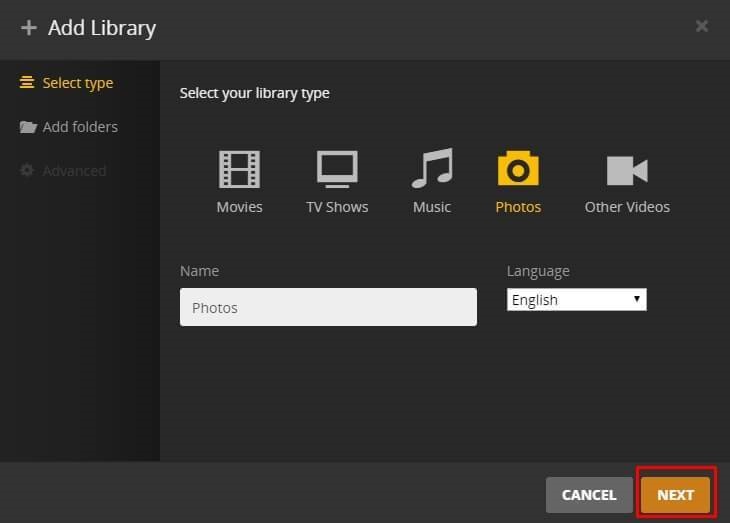
Step 10: Select the media (Movies, TV Shows, Music, Photos & Other Shows) that you want to add to your library.
Step 11: Then name the folder for your media.
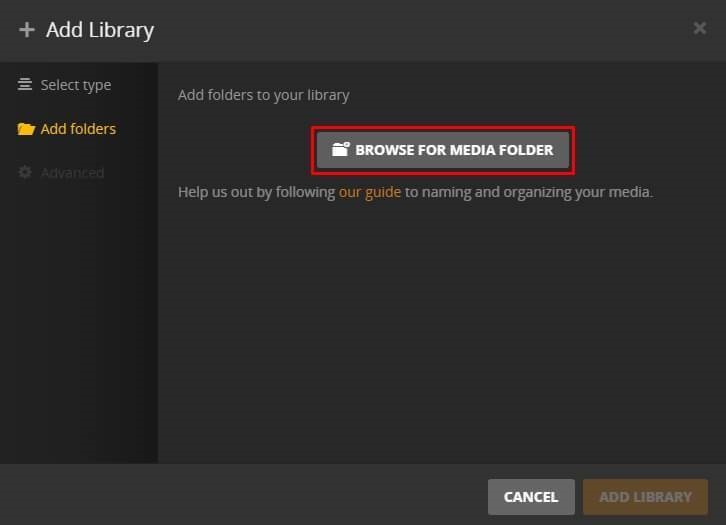
Step 12: Tap “Browser for Media Folder” to add files from your PC.
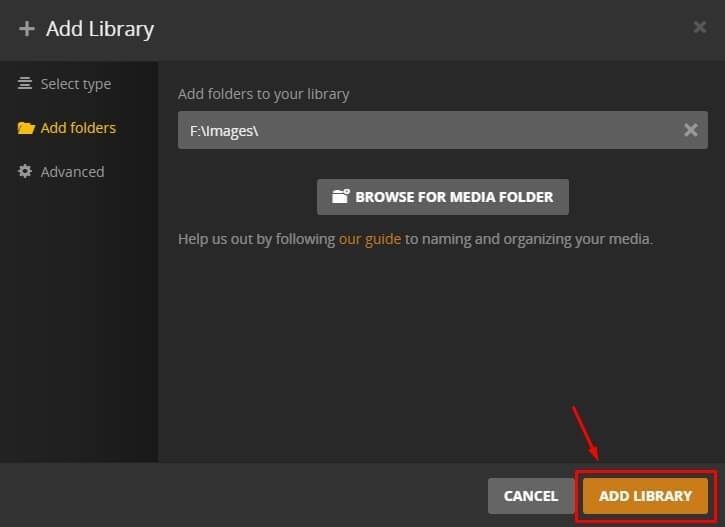
Step 13: After adding your media files, Tap “Add Library.”
Step 14: Tap “Next.”
Step 15: Then tap “Done” to finish the setup process of Plex Media Server on your Windows PC/laptop.
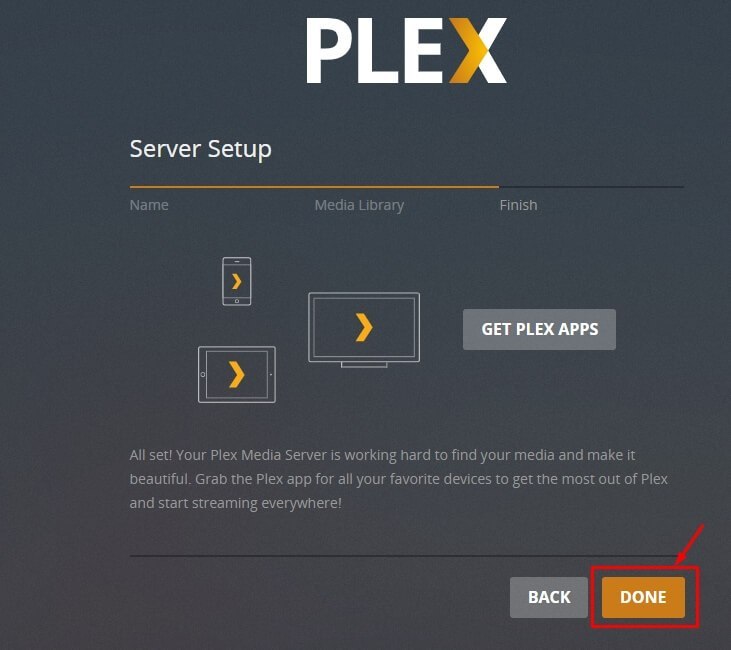
That’s it. You have installed Plex Media Server on your Windows PC/laptop successfully. You can upload your favourite media’s on Plex media server to access them whenever and wherever you want.
How to Setup Plex Media Player on Windows PC/Laptop?
Down load Plex media player on the laptop wherein you’ve got set up plex media server to store your Media Files. You may also Download Plex media player on different Computer or another Tool to get Right of entry to the media Files that you are Stored in the Plex server walking pc.
Note: You can use also other devices like Mac, Android mobiles, iOS devices, Chromecast, Kodi, Apple TV, Android TV, and Roku to access the files that you are stored in your Plex Media Server. The setup process of Plex Media Player in other devices is more or less similar to the setup process on Windows).
Step 1: Download Plex Media Player on your PC/laptop which runs on Windows 10, 8.1, 8 & 7.
Step 2: Once the downloading was finished, double click and run the installer file.
Step 3: Tap “Install” to start the installation process.
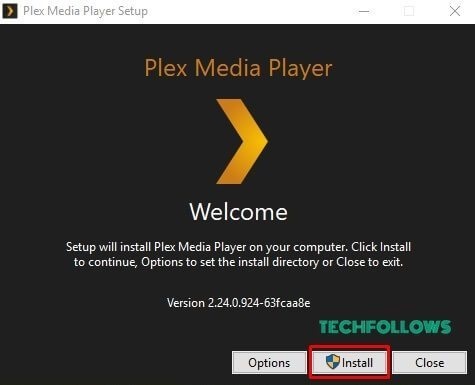
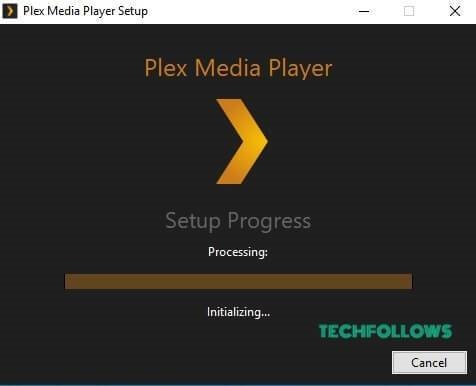
Step 4: Then wait for Plex Media Player to get installed on your PC.
Step 5: Tap “Launch” to open the Plex app.
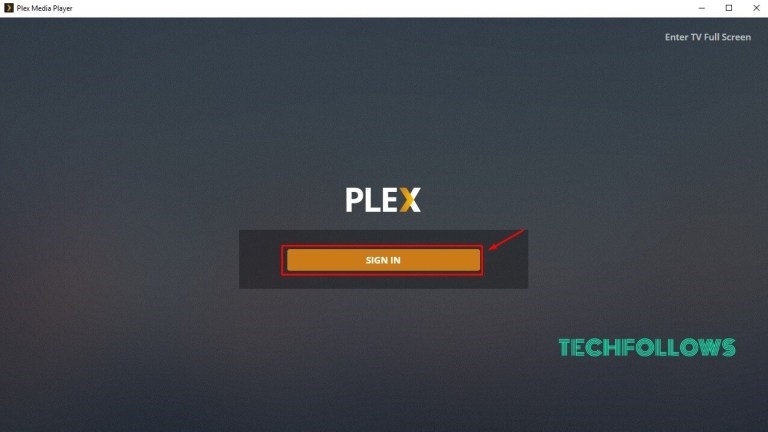
Step 6: Tap “Sign in.”
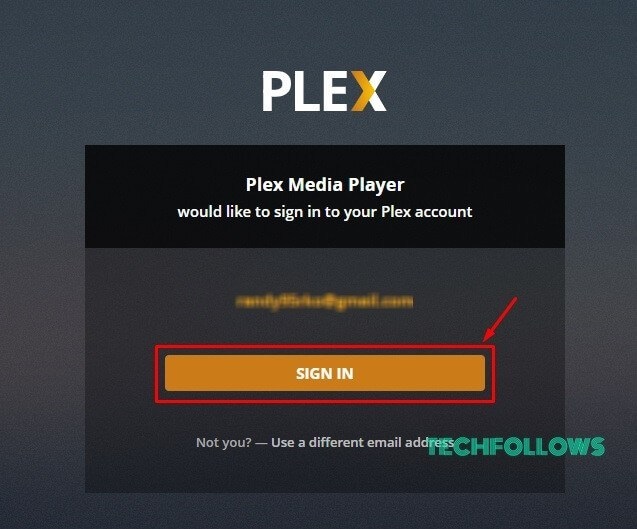
Step 7: The setup wizard will take you to the default browser, where you need to enter your Plex account login details. Enter the login details and click “Sign in.”
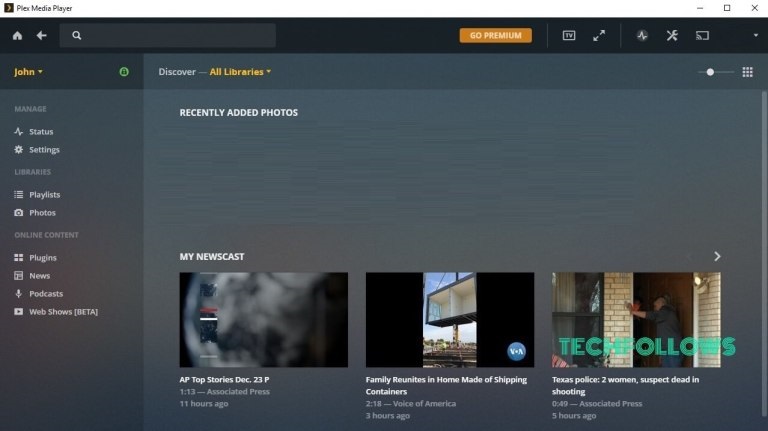
Step 8: Once the sign-in was completed, close the browser.

Step 9: Open Plex Media Player and your account will be synced automatically.
That’s it. You have successfully set up the Plex Media Player on Windows PC/laptop. You can also install the Plex Media Player on other devices like Android, iOS, Mac and much more to access the files that you are stored on Plex Media Server.
Conclusion :
This is how you can set up Plex Media Server and Plex Media player on your Windows PC/laptop. You can subscribe for Plex Pass to get additional features like Premium Music, Premium Photos, Movies, Live TV, Offline Sync, Parental Controls, Plex Perks and more.